Are you ready for a tasty treat? These Gluten Free Peanut Butter Banana Muffins are perfect for breakfast or a snack. Made with simple ingredients like ripe bananas and creamy peanut butter, they’re easy to whip up. Plus, they’re gluten-free! In this article, I’ll guide you step-by-step to create these delicious muffins that everyone will love. Let’s dig into the recipe and see how simple baking can be!
Ingredients
To make these delightful gluten-free peanut butter banana muffins, gather the following ingredients:
– 2 ripe bananas, thoroughly mashed
– 1/2 cup creamy peanut butter
– 1/3 cup honey or pure maple syrup
– 2 large eggs, at room temperature
– 1 teaspoon pure vanilla extract
– 1 cup gluten-free all-purpose flour
– 1 teaspoon baking powder
– 1/2 teaspoon baking soda
– 1/4 teaspoon fine sea salt
– 1/2 teaspoon ground cinnamon (optional)
– 1/4 cup dark chocolate chips or chopped nuts (optional)
These ingredients create a balance of flavors and textures. The ripe bananas add natural sweetness and moisture. Peanut butter gives a rich, nutty taste. Honey or maple syrup adds a hint of sweetness. The gluten-free flour keeps these muffins light and fluffy.
Baking powder and baking soda help the muffins rise. A dash of salt enhances the flavors. Ground cinnamon offers warmth, while dark chocolate chips or nuts provide extra crunch.
You can find the full recipe with detailed steps to whip up these tasty muffins. Enjoy the process!
Step-by-Step Instructions
Preheating the Oven
– Set oven temperature to 350°F (175°C).
– Prepare muffin tin with liners or non-stick spray.
Mixing Wet Ingredients
– Combine mashed bananas and peanut butter.
– Create a smooth, creamy mixture.
Adding Sweeteners and Eggs
– Incorporate honey (or maple syrup), eggs, and vanilla.
– Ensure uniform mixture.
Combining Dry Ingredients
– Whisk gluten-free flour, baking powder, baking soda, salt, and cinnamon.
Mixing Dry and Wet Ingredients
– Gradually fold the dry mixture into the wet.
– Avoid overmixing.
Filling Muffin Cups
– Distribute batter evenly in muffin cups.
– Fill halfway for rising.
Baking and Cooling
– Bake for 18-20 minutes.
– Cool in tin for 5 minutes, then transfer to wire rack.
For the complete recipe, check the Full Recipe.
Tips & Tricks
Perfecting Gluten-Free Baking
To make great gluten-free muffins, I suggest using a scale. This gives you precise measurements for every ingredient. A small mistake in measurement can change the texture. Always check your flour for gluten contamination. Cross-contamination can ruin your muffins. Store gluten-free flour in a separate spot. It helps keep your baking safe and tasty.
Enhancing Flavor and Texture
You can add chocolate chips or nuts to your muffins for extra crunch. These options boost the flavor and texture. If you have a sweet tooth, feel free to adjust the sweetness. Use more honey or maple syrup if you like. Each bite should make you smile!
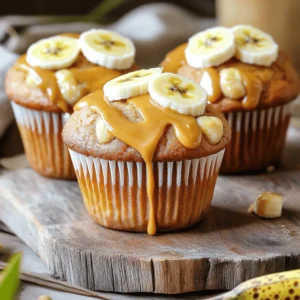
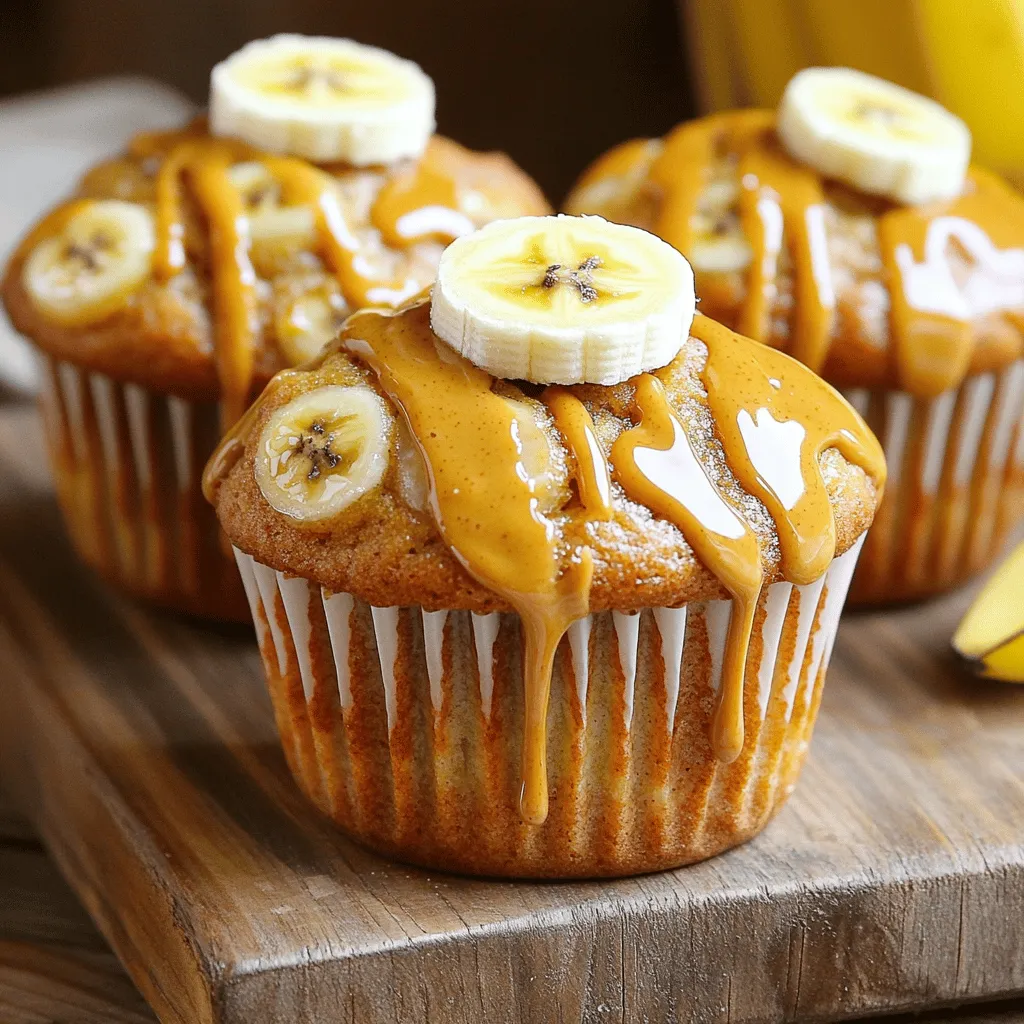
Presentation Tips
Presenting your muffins well makes them more inviting. Serve them on a rustic wooden board. This adds charm and warmth to your dish. To make them look even better, garnish with banana slices. A drizzle of extra peanut butter on top makes it irresistible. Your guests will love the look and taste! Check out the Full Recipe for complete details on making these delightful muffins.
Variations
Flavor Alternatives
You can change the flavor of gluten free peanut butter banana muffins easily. Here are a few ideas:
– Swap peanut butter: Use almond or cashew butter instead. This adds a new nutty taste.
– Use different fruits: Applesauce or peaches can replace bananas. This will change the texture and flavor.
These swaps give you many options to try. Each choice brings a unique taste to your muffins.
Dietary Substitutions
Adapting these muffins for special diets is simple. Here are some easy swaps:
– Replace honey: Use agave syrup for a vegan option. It works just as well and adds sweetness.
– Egg substitutes: If you want an egg-free version, use applesauce or flaxseed meal mixed with water. This keeps the muffins moist.
These substitutions make it easy for everyone to enjoy these tasty treats. Enjoy experimenting with these variations! You can find the full recipe for gluten free peanut butter banana muffins to guide you through the process.
Storage Info
Storing Muffins
To keep your muffins fresh, store them in an airtight container. They stay good at room temperature for up to three days. If you want them to last longer, refrigerate them. This helps keep them moist and tasty for a few extra days.
Freezing Instructions
Freezing is a great way to save these muffins. First, freeze them in a single layer on a baking sheet. Once they are solid, transfer them to a freezer bag. This method prevents them from sticking together. When you want to enjoy one, just thaw or reheat as needed. This will give you the best taste and texture. For the full recipe, check the details above.
FAQs
Can I make these muffins nut-free?
Yes, you can make these muffins nut-free. Just substitute peanut butter with sunflower seed butter. This swap keeps the muffins tasty and safe for those with nut allergies.
How do I know when the muffins are done baking?
To check if the muffins are done, use a toothpick. Insert it into the center of a muffin. It should come out clean or with just a few moist crumbs. If it’s wet, bake them a bit longer.
Are these muffins suitable for vegans?
Absolutely! You can make these muffins vegan by using an egg replacement. Also, switch honey for pure maple syrup. This way, they fit a vegan diet perfectly.
What can I serve with these muffins?
These muffins pair well with many tasty options. Try serving them with yogurt or fresh fruit. For extra flavor, add a smear of peanut butter on top. You can enjoy them in many ways!
These muffins are easy to make and delicious to eat. We started with simple ingredients, like bananas and peanut butter. Then, we mixed them step-by-step for best results. Make sure to try different flavors and store them properly. Baking gluten-free can be fun and tasty with the right tips. Enjoy these muffins warm or with a topping you like. They are great for breakfast or a snack! Now, it’s your turn—get baking and savor each bite!