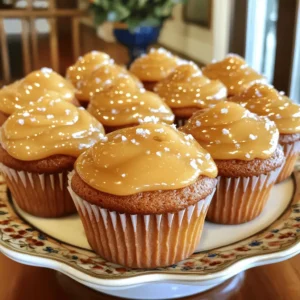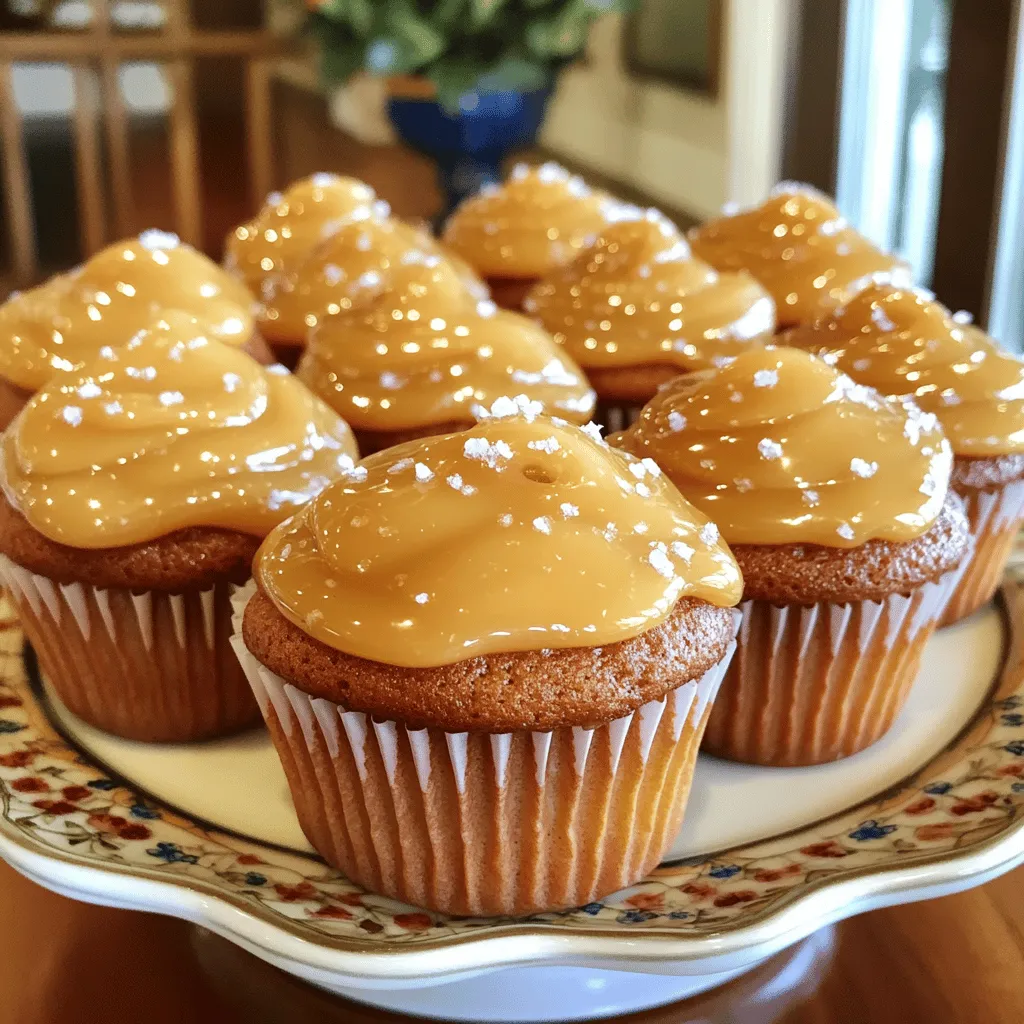
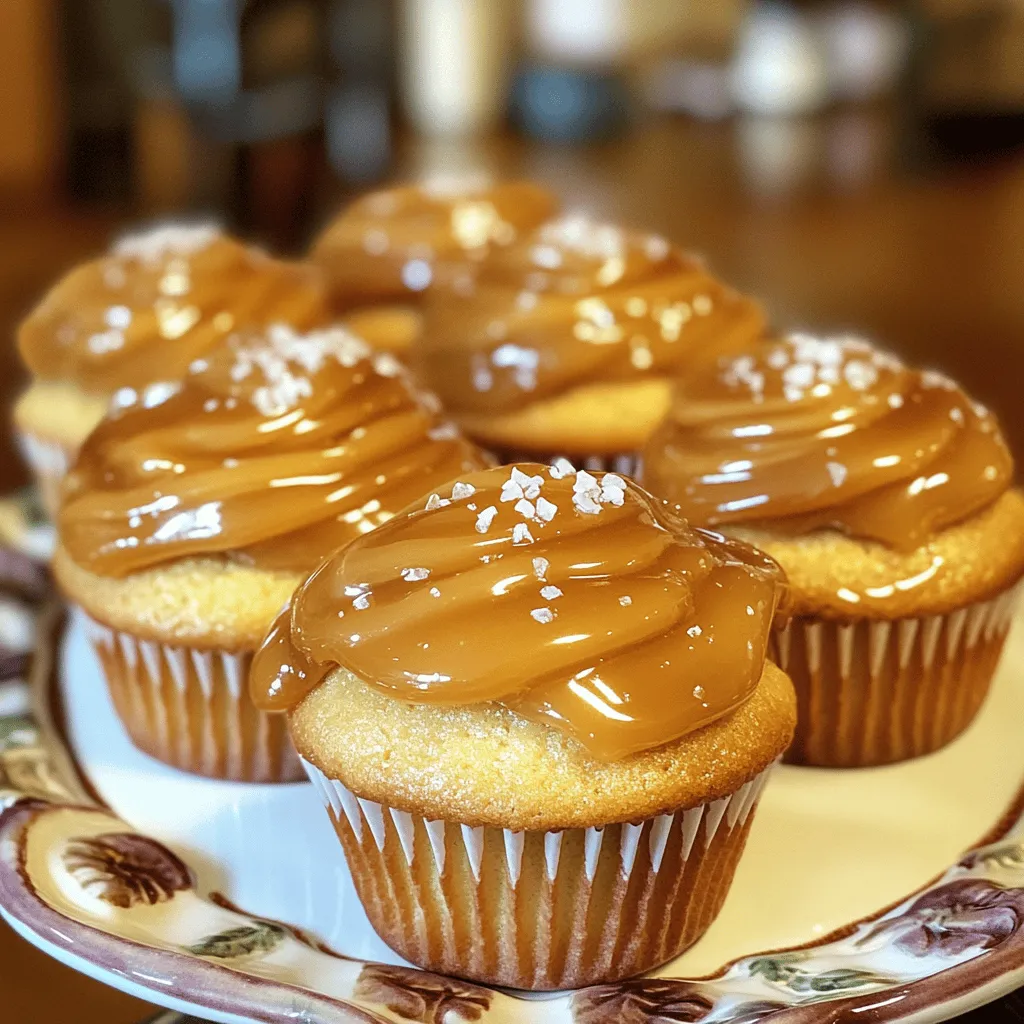
If you love sweet treats, you’re in for a delight! These gooey salted caramel cupcakes are the perfect blend of rich flavors and soft textures. Picture biting into a fluffy cupcake, oozing with warm caramel and finished with a light sprinkle of sea salt. In this post, I’ll guide you through every step to create these mouthwatering delights. Let’s dive into the world of baking and make something unforgettable!
Ingredients
Full Recipe Overview
Gooey Salted Caramel Cupcakes are a sweet dream come true. They combine fluffy cake with rich caramel. Each bite offers a burst of flavor. This recipe is easy to follow and yields 12 cupcakes.
Complete List of Ingredients
– 1 ½ cups all-purpose flour
– 1 teaspoon baking powder
– ½ teaspoon baking soda
– ½ teaspoon salt
– ½ cup unsalted butter, softened at room temperature
– 1 cup granulated sugar
– 2 large eggs, at room temperature
– 1 teaspoon pure vanilla extract
– ½ cup buttermilk, at room temperature
– ½ cup salted caramel sauce (store-bought or homemade)
– Sea salt flakes for topping
Recommended Ingredient Brands
For the best results, I recommend using these brands:
– All-purpose flour: King Arthur Flour
– Unsalted butter: Challenge Butter
– Granulated sugar: Domino Sugar
– Salted caramel sauce: Ghirardelli or homemade
These brands ensure quality and flavor. Using high-quality ingredients makes a big difference in taste.
Step-by-Step Instructions
Prepping the Oven and Muffin Tin
First, set your oven to 350°F (175°C). This helps the cupcakes bake evenly. Next, grab a standard muffin tin and line it with fun cupcake liners. This makes cleanup easy and adds a nice touch to your cupcakes.
Mixing the Dry Ingredients
In a medium bowl, combine the dry ingredients: 1 ½ cups all-purpose flour, 1 teaspoon baking powder, ½ teaspoon baking soda, and ½ teaspoon salt. Use a whisk to mix them well. This step ensures that all the leavening agents work together when you bake.
Creaming Butter and Sugar
In a large bowl, take ½ cup of softened unsalted butter and 1 cup of granulated sugar. Using an electric mixer, cream them together on medium speed for about 3-4 minutes. The mix should look light and fluffy. This step adds air to your batter, making your cupcakes soft.
Combining Wet and Dry Ingredients
Add the eggs one at a time to the fluffy butter and sugar mix. Make sure to mix well after each egg. Then, stir in 1 teaspoon of pure vanilla extract. Gradually add the dry mix and ½ cup of buttermilk, starting and ending with the flour. Mix until combined. Be careful not to overmix, as it can make the cupcakes tough.
Adding Salted Caramel and Baking
Now for the fun part! Carefully fold in ½ cup of salted caramel sauce into the batter. This creates a beautiful marbled effect. Next, fill each muffin liner about two-thirds full with the batter. Place the muffin tin in the oven and bake for 18-20 minutes. They are ready when a toothpick comes out clean or with a few moist crumbs. After baking, cool them in the tin for 5 minutes before moving to a wire rack. Finally, drizzle more salted caramel on top and sprinkle sea salt flakes. Enjoy your gooey salted caramel cupcakes! Check out the Full Recipe for all the details.
Tips & Tricks
Achieving the Perfect Texture
To get the best texture, measure your ingredients carefully. Use a kitchen scale if you can. Make sure your butter is soft, not melted. Cream the butter and sugar well until light and fluffy. This adds air and makes your cupcakes rise. When mixing the wet and dry ingredients, combine them gently. Overmixing can make the cupcakes tough.
Common Mistakes to Avoid
One common mistake is not using room temperature ingredients. Cold eggs and milk can lead to uneven mixing. Another error is filling the cupcake liners too much. Aim for two-thirds full to allow space for rising. Be sure to check the baking time. Ovens can vary, so a toothpick test is key. If it comes out clean, your cupcakes are ready!
Decorating Tips for Presentation
Presentation matters! Once your cupcakes are cool, drizzle extra salted caramel on top. It adds a nice look and flavor. Use a piping bag for a neat design. You can also sprinkle sea salt flakes on top for a gourmet touch. For a fun display, arrange them on a colorful platter. Serve with a small pitcher of salted caramel sauce for fun.
For the complete recipe, check the Full Recipe section above.
Variations
Different Flavor Combinations
You can play with flavors in gooey salted caramel cupcakes. For a twist, use chocolate cake batter instead of vanilla. This rich flavor pairs well with caramel. You can also add a hint of espresso powder for a coffee kick. It boosts the flavor and gives a lovely depth.
Another option is to mix in some chopped nuts, like pecans or walnuts. They add a nice crunch and a nutty flavor to your cupcakes. If you love fruit, try adding fresh raspberries or banana slices. Their sweetness contrasts nicely with the salty caramel.
Gluten-Free Alternatives
You can still enjoy these cupcakes with gluten-free flour. Use a 1:1 gluten-free flour blend. Look for blends that contain xanthan gum. This gives your cupcakes the same texture. Just follow the same measurements in the Full Recipe.
Make sure to check all other ingredients. Some brands of baking powder and sugar may contain gluten. Always read the labels carefully to ensure everything is safe.
Vegan Adaptations
To make vegan gooey salted caramel cupcakes, replace eggs with flax eggs. Mix one tablespoon of ground flaxseed with three tablespoons of water. Let it sit for five minutes to thicken.
For butter, use coconut oil or vegan butter. Substitute buttermilk with plant-based milk mixed with a splash of vinegar. This gives you a similar acidity. Lastly, choose dairy-free caramel sauce for drizzling on top.
These variations keep the spirit of gooey salted caramel cupcakes while catering to different diets.
Storage Info
How to Store Leftover Cupcakes
To keep your gooey salted caramel cupcakes fresh, store them in an airtight container. Place a piece of wax paper between layers to prevent sticking. Keep them at room temperature for up to three days. If you want to enjoy them later, refrigeration is an option. Just remember to let them sit out for a bit before eating.
Freezing Options and Tips
Freezing these cupcakes is easy and smart. Wrap each cupcake tightly in plastic wrap. Then, place them in a freezer-safe bag or container. They can last up to three months in the freezer. Just make sure to label the bag with the date. When you’re ready to enjoy, let them thaw at room temperature.
Reheating Guidelines
To reheat your cupcakes, use a microwave. Heat them for about 10 to 15 seconds. This warms them without drying them out. You can also place them in a preheated oven at 350°F (175°C) for a few minutes. This method revives the texture and flavor nicely. Drizzle with extra salted caramel sauce before serving for a delicious touch!
FAQs
How do I know when the cupcakes are done?
You can tell the cupcakes are done when a toothpick inserted in the center comes out clean or with a few moist crumbs. The edges will also look golden brown. If you see wet batter on the toothpick, give them a few more minutes. Remember, they will continue to cook a bit after you take them out.
Can I use homemade salted caramel sauce?
Yes, you can absolutely use homemade salted caramel sauce! In fact, it can add an extra touch of love to your cupcakes. Just make sure it’s thick enough to hold its shape. You want it to swirl beautifully in the batter and on top.
What can I substitute for buttermilk?
If you don’t have buttermilk, you can easily make a substitute. Mix one cup of milk with one tablespoon of white vinegar or lemon juice. Let it sit for about five minutes until it thickens slightly. This will give you that tangy flavor and moisture that buttermilk provides.
How can I make these cupcakes ahead of time?
You can bake the cupcakes a day in advance. Store them in an airtight container at room temperature. For longer storage, freeze them. Wrap each cupcake in plastic wrap and then place them in a freezer-safe bag. When you’re ready to enjoy, let them thaw at room temperature. Drizzle with salted caramel just before serving for the best taste!
In this post, we covered all you need to know to make amazing cupcakes. We discussed the full recipe, the best ingredients, and how to mix them properly. I shared tips for texture and common mistakes to avoid. You also found ways to customize flavors, learn storage tips, and answered frequent questions.
Remember, the joy of baking is all about experimentation. Try new flavors and have fun with it! Enjoy your baking journey!